650 ANSI 4K Projector: Autofocus, Keystone & Setup Tips
What This Projector Is Built For
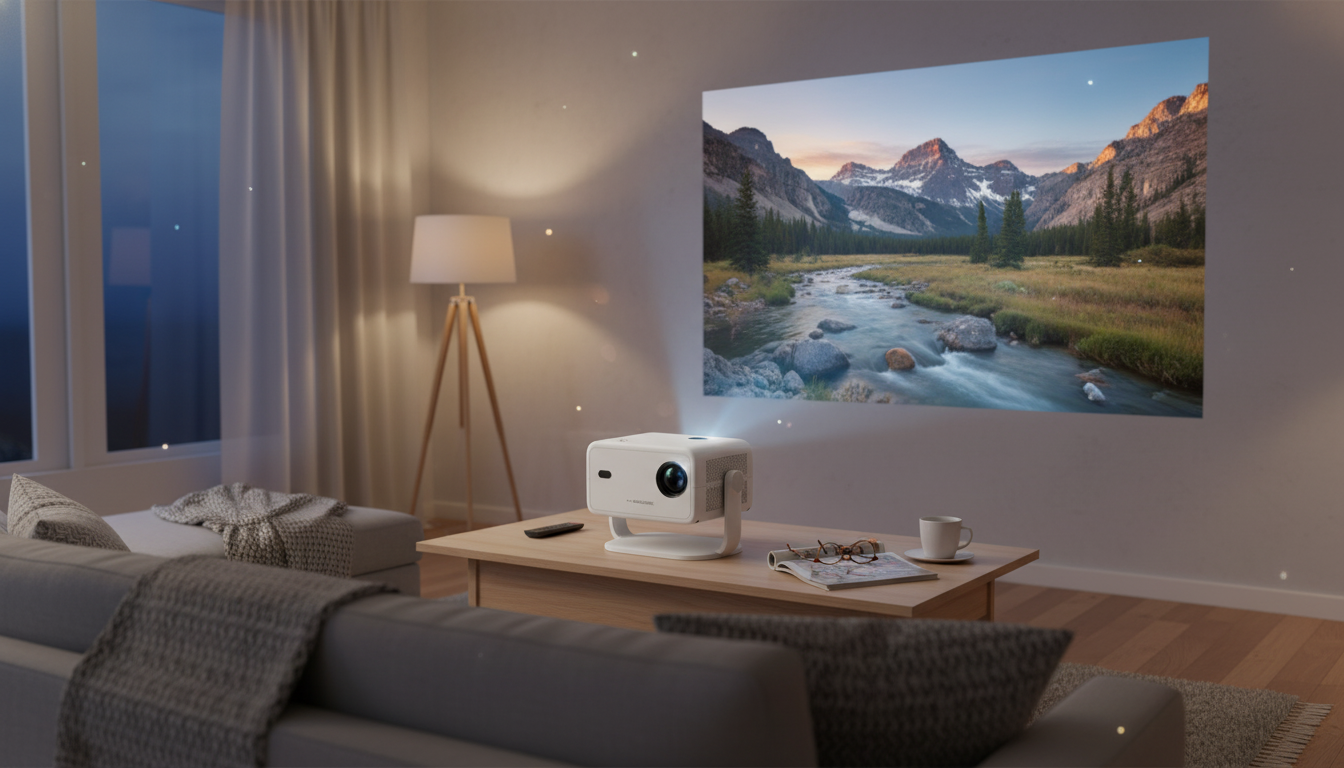
A 650 ANSI-class projector with 4K playback support, auto focus, and keystone correction is designed for big-screen viewing that doesn’t require a permanent, TV-style setup. It’s a practical fit for apartments, bedrooms, dorm rooms, and travel-friendly movie nights where the projector gets moved often and you want the picture to “snap” into place quickly. For more guidance, see [PDF] PixelFlex: A Reconfigurable Multi-Projector Display System.
Instead of demanding perfect alignment, it’s built to handle real-world placement: a little off-center on a coffee table, angled slightly upward on a low stand, or set on a shelf when floor space is limited. It’s also a strong option for everyday viewing—streaming shows, kids’ cartoons, casual gaming, and quick slideshows—where convenience matters as much as image size. For further reading, see [PDF] QKK Projector.pdf.
Key Features That Affect Daily Experience
Daily satisfaction with a projector usually comes down to a few practical things: how quickly it looks sharp, how well it holds up with a bit of ambient light, and how forgiving it is when the room layout isn’t ideal. This is where 650 ANSI brightness, auto focus, and keystone correction make a noticeable difference.
Brightness helps determine whether you can enjoy a watchable image with lamps on or during early evening. 4K playback support can improve perceived detail when the source quality is high, but final sharpness still depends on optics, focus accuracy, and how much digital correction is applied. Auto focus reduces manual fiddling, while keystone correction helps square the picture when you can’t place the unit perfectly centered.
| Feature | What it helps with | Practical tip |
|---|---|---|
| 650 ANSI-class brightness | More usable image with mild ambient light | For daytime viewing, use curtains and aim for a smaller screen size for higher perceived brightness |
| Auto focus | Sharper image faster after moving or bumping the unit | Let it finish focusing before adjusting keystone for the cleanest edges |
| Keystone correction | Squared image when placed off-axis | Use minimal keystone when possible; physical centering preserves detail better |
| 4K playback support | Cleaner gradients and detail from high-quality sources | Pair with high-quality streams/files and avoid overly long/cheap HDMI cables if using external devices |
For a quick refresher on how brightness relates to room lighting, this guide is a helpful reference: Projector brightness: understanding lumens and room lighting.
Getting the Best Picture: Placement and Room Setup
Start with a surface that doesn’t fight the image. A matte projector screen is ideal, but a smooth, flat wall can work if it’s clean and evenly painted. Glossy paint or textured walls can create hotspots and “grain” that looks like poor focus.
Next, place the projector as centered as practical. Even though keystone correction can square the image, heavy correction typically costs a little sharpness—especially toward the edges. If you’re choosing between “perfectly centered but slightly inconvenient” and “very off-center with lots of keystone,” the centered option usually looks better.
Ambient light is the other major factor. Close blinds, dim lamps, and avoid placing light sources where they hit the screen directly. If the room is bright, reduce the image size instead of pushing for the biggest picture possible; a smaller image often looks punchier and more contrasty.
Finally, stabilize the projector. A solid table, shelf, or stand helps keep the geometry consistent and reduces the chance that the unit gets bumped—an easy way to trigger re-focus or introduce subtle blur.
Auto Focus and Keystone Correction: How to Use Them Without Losing Sharpness
Auto focus and keystone correction are best treated as tools that finish the setup—not tools that replace good placement. A simple order of operations tends to deliver the cleanest results:
1) Set placement first
Choose your distance and height, and aim the lens as straight-on to the screen as possible. If the projector has adjustable feet, use them to level the image physically before relying on digital correction.
2) Let auto focus complete
Give it a few seconds to settle. If you adjust keystone while it’s still focusing, you can end up “chasing” sharpness and redoing steps.
3) Apply small keystone tweaks
4) Re-check focus after changes
Video Sources, Connectivity, and Audio Expectations
If HDR content is part of your routine, it helps to understand what HDR does (and doesn’t) change in perceived contrast and highlights: High Dynamic Range (HDR) basics and how it affects viewing.
Practical Calibration: Quick Tweaks That Make a Noticeable Difference
Maintenance and Longevity Tips
Product Options Available Now
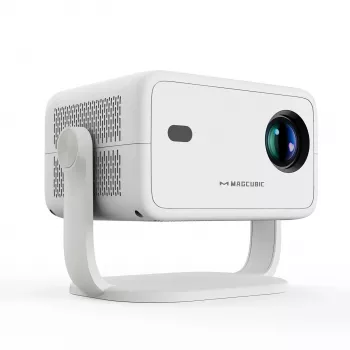
If you want a budget-friendly big-screen setup with faster alignment, the 650ANSI 4K Projector with Auto Focus & Keystone Correction is available now and is well suited for viewers who move their projector between rooms and don’t want constant manual adjustments. For the best overall experience, consider pairing it with a simple stand/tripod, a basic fixed-frame or pull-down screen, and external audio for movie nights.
- Sonic Electric Toothbrush
- Embroidery Daisy Pencil Case Large Capacity School Supplies Pouch
- Rechargeable Sonic Electric Toothbrush with USB Charging & Replacement Heads
FAQ
Does keystone correction reduce image quality?
It can. Digital keystone typically resamples the image to reshape it, which may slightly soften fine detail; minimizing keystone by physically centering the projector usually preserves the sharpest edges.
What does 650 ANSI brightness mean for daytime viewing?
It’s generally more usable than very dim mini projectors, but it still benefits from controlling ambient light. For daytime, closing curtains and using a smaller screen size can help the image look brighter and more contrasty.
How can auto focus be made more reliable?
Use a stable surface, give the projector time to complete focusing before applying keystone, and keep the lens clean. Re-run focus after any change in distance or angle, since small moves can shift the optimal focus point.


Leave a comment