183-Piece Hand-Crank Wooden Film Projector Kit Guide
Build, Crank, and Screen a Bit of Classic Motion
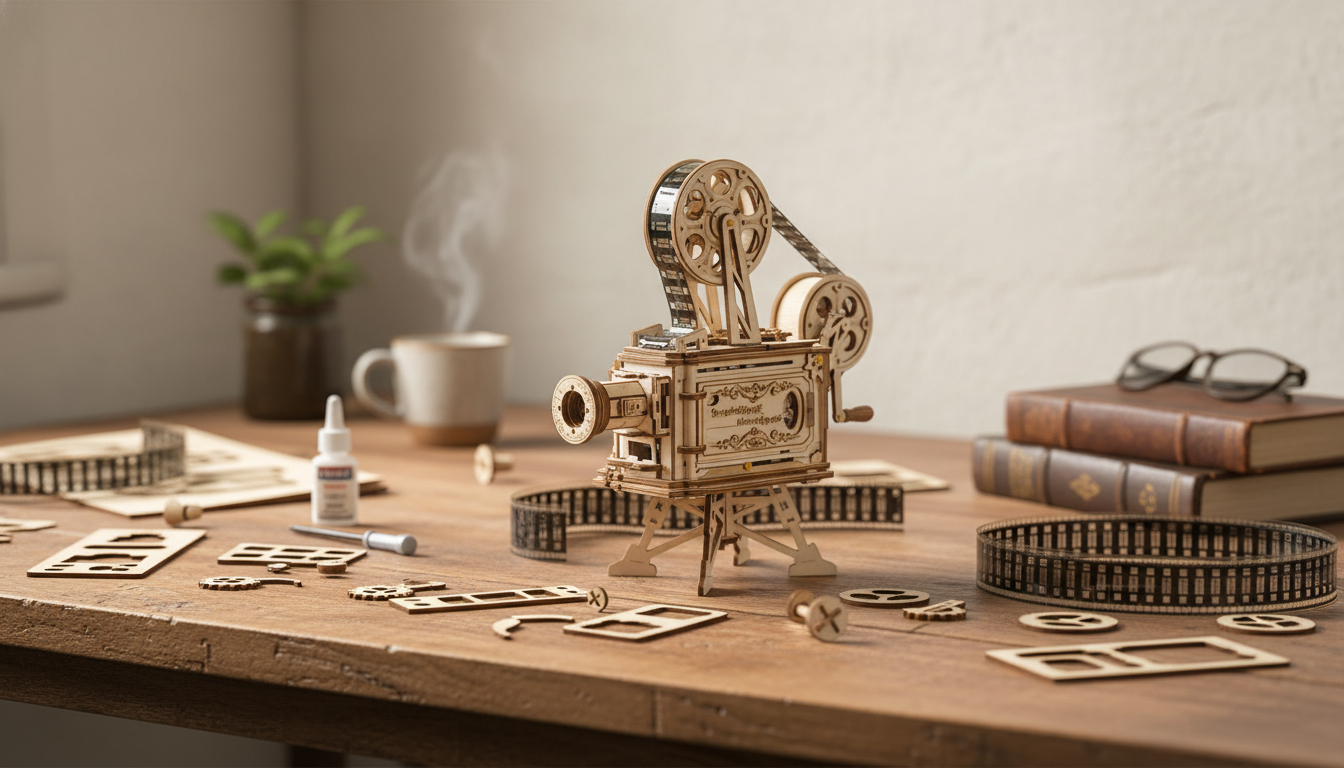
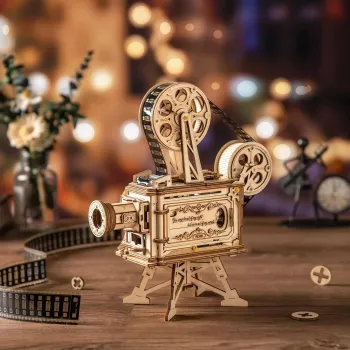
A hand-crank wooden film projector kit blends the satisfaction of model-building with a working mechanical display you can show off the moment it’s finished. With 183 pieces that assemble into a 3D projector-style mechanism, this build is made for patient hands, curious minds, and anyone who loves nostalgic cinema gadgets. The end result is a tabletop conversation piece that can project motion imagery onto a wall or screen—no apps required and no “charge it first” routine.
What This Kit Is (and What It Isn’t)
The 183-Piece DIY 3D Wooden Hand-Crank Film Projector Kit is a DIY wooden model designed to be assembled into a crank-driven projector-like device. The emphasis is on the build: aligning parts, fitting gears, and calibrating moving components until the mechanism turns smoothly and advances the animation/film element evenly.
It’s also important to set expectations. This is not a modern digital projector replacement. Brightness, image size, and clarity won’t match LED/LCD projectors, and the experience is more “mechanical demo” than home theater. Treated as an educational build and a functional, nostalgic display piece, it delivers exactly the kind of hands-on delight many makers are looking for.
What’s Included and How the 183 Pieces Come Together
Most kits in this style use laser-cut or pre-shaped wooden components to form the body, lens housing, and internal drive train. You’ll typically assemble a structural frame, then add mechanical components—gears, axles, rollers/spools—before finishing with the optics housing and final calibration.
Because small parts are common, sorting before you start can make the entire build calmer and cleaner. Lay pieces out by shape/number, keep tiny parts in a tray, and avoid forcing joints that feel tight. The complexity often lands in the moderate-to-high range for beginners, but careful steps beat speed every time.
Typical build stages and checkpoints
| Stage | Goal | Tips to avoid common mistakes |
|---|---|---|
| Prep and inventory | Confirm all pieces are present and undamaged | Sort by shape/number; dry-fit a few joints before applying pressure |
| Frame assembly | Create a square, stable chassis | Check alignment on a flat surface; misalignment can cause gear friction later |
| Gear train and crank | Smooth motion from crank to internal rollers | Turn the crank slowly after each step; resistance usually means a mis-seated axle |
| Optics housing | Position lens and projection path | Keep surfaces clean; fingerprints and dust can reduce clarity |
| Calibration | Even feed and steady projection | Adjust tension/fit gradually; avoid bending thin wooden elements |
How the Hand-Crank Projection Mechanism Works
Cranking the handle rotates a primary gear, which drives secondary gears to manage speed and torque. That motion transfers to a spool/roller system that advances frames—often via a film strip, animated disc, or similar element depending on the specific design.
A light source and lens path project the image outward. Results vary based on ambient light and projection distance: darker rooms improve contrast, while longer distances increase image size but can reduce brightness and perceived sharpness. For a bit of background on projection technology and terminology, see Encyclopaedia Britannica’s overview of the projector.
Mechanical smoothness comes down to three main factors: gear meshing, axle straightness, and a frame that’s truly square. A steady cranking pace produces the most stable viewing; quick speed changes can create flicker or uneven frame movement.
Build Experience: Time, Tools, and Workspace Setup
Many builders finish in one to two sessions, with extra time going to careful calibration rather than the core assembly. Plan for several hours, take breaks before you start forcing parts, and test movement as you go.
A well-lit table and a few small containers help a lot—especially when you’re juggling tiny spacers, pins, or delicate wood tabs. Helpful add-ons include fine sandpaper or an emery board (for snug joints), tweezers (for small pieces), and a soft cloth (to keep lens/clear parts clean).
Adhesive depends on the kit’s guidance: some builds are press-fit, while others benefit from minimal glue at stress points. Either way, avoid over-torquing the crank during the initial break-in. If anything feels stiff, stop and troubleshoot instead of powering through.
Projection Tips for the Best Result
If you enjoy the history behind motion imagery and film presentation, the Library of Congress Motion Picture and Television Reading Room is a fascinating resource: https://www.loc.gov/rr/mopic/.
Who It’s For: Gifting, Learning, and Display
Care, Storage, and Troubleshooting
Product Snapshot
- Name: 183-Piece DIY 3D Wooden Hand-Crank Film Projector Kit
- Type: Mechanical wooden model kit with hand-crank motion
- Use case: Build + demonstrate projection-style motion imagery
- Availability: In stock
- Price: $41.82 USD
More In-Stock Finds
- Embroidery Daisy Pencil Case Large Capacity School Supplies Pouch (compact organizer for small tools, tweezers, or craft accessories)
- Rechargeable Sonic Electric Toothbrush with USB Charging & Replacement Heads
- Sonic Electric Toothbrush
FAQ
Does the projector work without batteries or a power outlet?
The motion is hand-cranked, so the mechanism advances manually. Projection brightness depends on the kit’s light element (if included) and your room lighting, so a darker space will give the best result.
How long does assembly usually take for a first-time builder?
Plan for several hours, often spread across one or two sessions. Alignment and calibration can take as long as the main assembly, especially if you’re aiming for smoother cranking and steadier motion.
What should be done if the crank feels stiff or the gears bind?
Stop and check gear alignment, reseat axles, and look for rubbing points along the frame. Gently sanding tight joints and testing the crank after each small fix is safer than forcing the mechanism.


Leave a comment