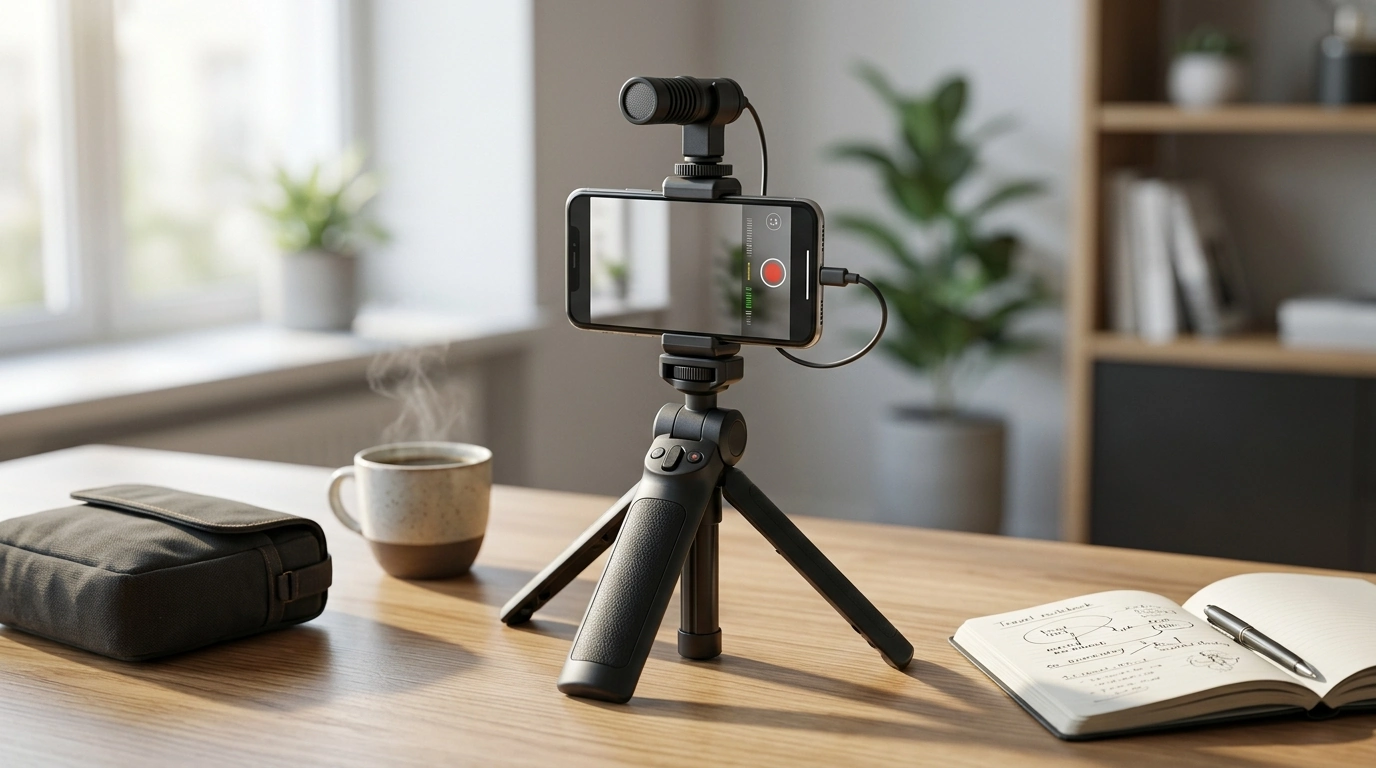
A compact handheld tripod can pull double (or triple) duty: it works as a comfortable grip for quick handheld clips, a stable tabletop tripod for desk setups, and a fast “set it down and keep rolling” stabilizer for travel days. Add a cold shoe head, and you can keep a small light or mic mounted on the same rig—so your framing, audio, and lighting move together instead of turning into a pile of separate pieces.
Below is a practical guide to what a portable selfie stand with a cold shoe head is built for, which features matter most for everyday filming, and simple ways to get smoother video without adding bulk. For deeper tips on improving sound and stabilizing footage in post, see YouTube’s audio guidance and Adobe’s stabilization overview: YouTube Help: Create videos with better audio and Adobe: How to stabilize shaky video.
Small tripods are all about friction and leverage: the better the locks, grip shape, and foot stability, the less “micro-shake” shows up in footage. A cold shoe head is the other big advantage, since it lets you keep your most-used accessory attached and ready.
| Feature | Why it helps | What to check before filming |
|---|---|---|
| Cold shoe head | Adds light/mic without a separate bracket | Accessory is firmly seated; no wobble |
| Stable grip | Smoother handheld footage | Hold feels secure with one hand |
| Tripod stance | Reduces tipping on tabletops | Legs fully opened; surface is flat |
| Angle control | Keeps framing consistent | Tilt locks hold after adjustment |
| Compact form | Easy to bring everywhere | Fits in bag pocket/side pouch |
For day-to-day use, prioritize a head that locks securely and a grip that feels planted in your hand. If the handle is slick or too thin, the tripod may technically “work” but still encourage shaky footage over longer takes.
A handheld tripod won’t replace a motorized gimbal, but it can noticeably improve stability by giving you a larger, steadier surface to hold. The technique matters as much as the tool.
When filming includes any kind of spoken audio or endorsements, it also helps to stay current on disclosure best practices: FTC: Guides Concerning the Use of Endorsements and Testimonials in Advertising.
A cold shoe head is a mounting point for compatible accessories like small LED lights or microphones. It provides no power—your accessory must be self-powered or connected separately, and some gear may require an adapter to fit securely.
Yes. A handheld tripod gives you a larger grip and better leverage, which helps reduce small shakes and makes framing easier to control. It’s not a gimbal, but it can noticeably steady both walking shots and stationary clips.
Fully spread the legs on a flat surface, keep heavier accessories centered, and manage cables so they don’t pull the rig off balance. Avoid placing the tripod near the edge of a desk or counter where a small bump can knock it over.

Leave a comment